
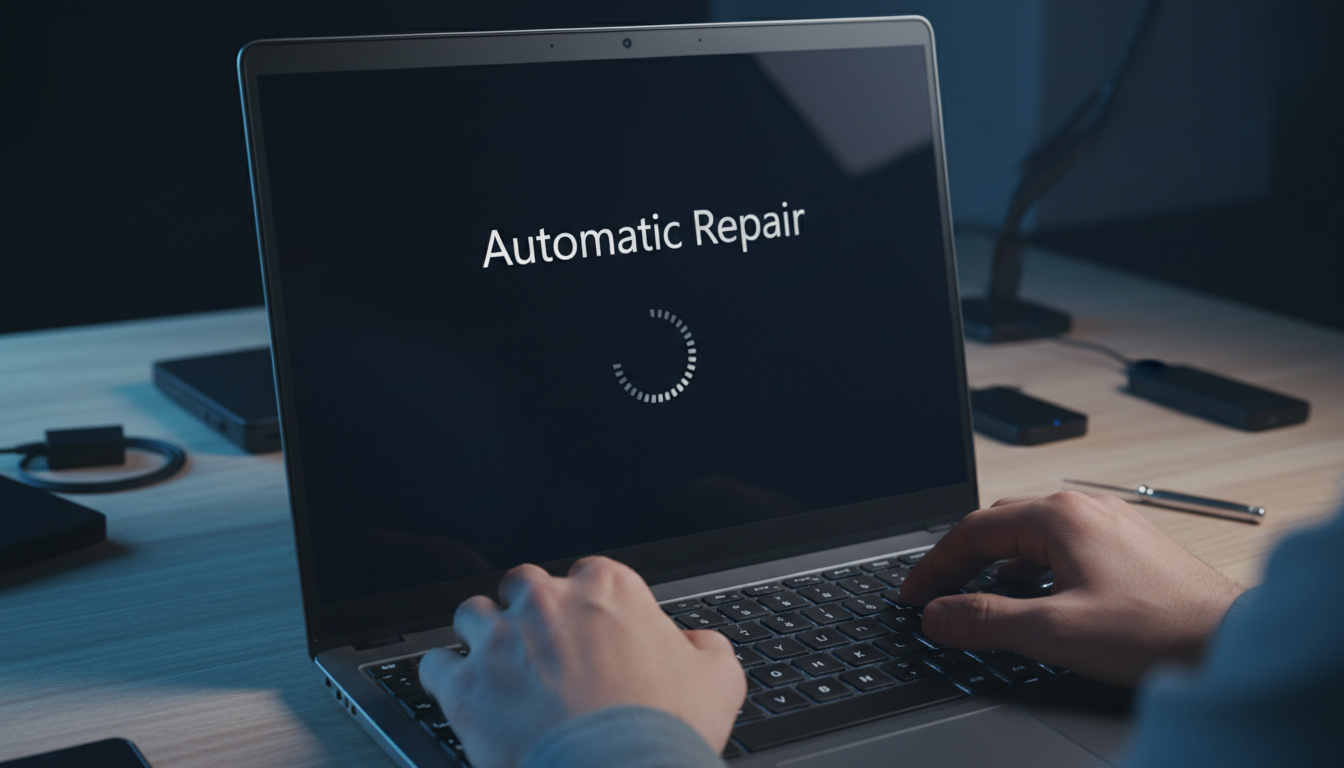
Why Your Laptop Gets Stuck in Automatic Repair
The dreaded “Automatic Repair” loop is one of the most frustrating Windows issues. Your laptop boots up, shows the repair screen, restarts, and repeats endlessly. This usually happens after a failed Windows update, corrupted system files, or hard drive errors.
What Causes the Automatic Repair Loop?
Common triggers include:
- Failed Windows updates — Incomplete or corrupted update installations
- Missing or corrupt boot files — BCD (Boot Configuration Data) errors
- Hard drive issues — Bad sectors or failing drives
- Registry corruption — Critical registry keys damaged
- Malware or virus damage — System files compromised
Method 1: Disable Automatic Repair
The first thing I tried was disabling the automatic repair feature itself:
- When the repair screen appears, click Advanced options
- Select Troubleshoot > Advanced options > Command Prompt
- Type
bcdedit /set {default} recoveryenabled Noand press Enter - Type
exitand restart your laptop
This stops the loop and lets you boot normally to troubleshoot further.
Method 2: Rebuild BCD (Boot Configuration Data)
This was the solution that worked for me:
- Boot into Advanced options > Command Prompt
- Type the following commands one by one:
bootrec /fixmbr
bootrec /fixboot
bootrec /scanos
bootrec /rebuildbcd
- Type Y when prompted to add installations
- Restart your laptop
Method 3: Run System File Checker in Recovery
If BCD rebuild doesn’t work, try repairing system files:
- Open Command Prompt from Advanced options
- Type
sfc /scannow /offbootdir=C:\ /offwindir=C:\Windows - Wait for the scan to complete
- Restart and check if the loop is fixed
Method 4: Restore Using System Restore Point
If you have a restore point, this can quickly fix the issue:
- Go to Advanced options > System Restore
- Select a restore point from before the problem started
- Follow the prompts to restore
- Your laptop will restart normally
Method 5: Check Your Hard Drive
A failing hard drive can cause endless repair loops:
- Open Command Prompt from Advanced options
- Type
chkdsk C: /rand press Enter - Let it scan and repair bad sectors (this can take hours)
- Restart after completion
Method 6: Perform a Clean Boot
Sometimes third-party software causes the loop:
- Boot into Safe Mode
- Press Windows + R, type
msconfig, and hit Enter - Go to the Services tab and check Hide all Microsoft services
- Click Disable all
- Restart normally
Last Resort: Reset Windows
If nothing else works, you can reset Windows while keeping your files:
- Go to Advanced options > Reset this PC
- Choose Keep my files
- Follow the on-screen instructions
Conclusion
In my case, rebuilding the BCD fixed the automatic repair loop completely. The key is to try each method systematically. Most users find success with Methods 1, 2, or 4. If your hard drive is failing, you may need to replace it and reinstall Windows.