
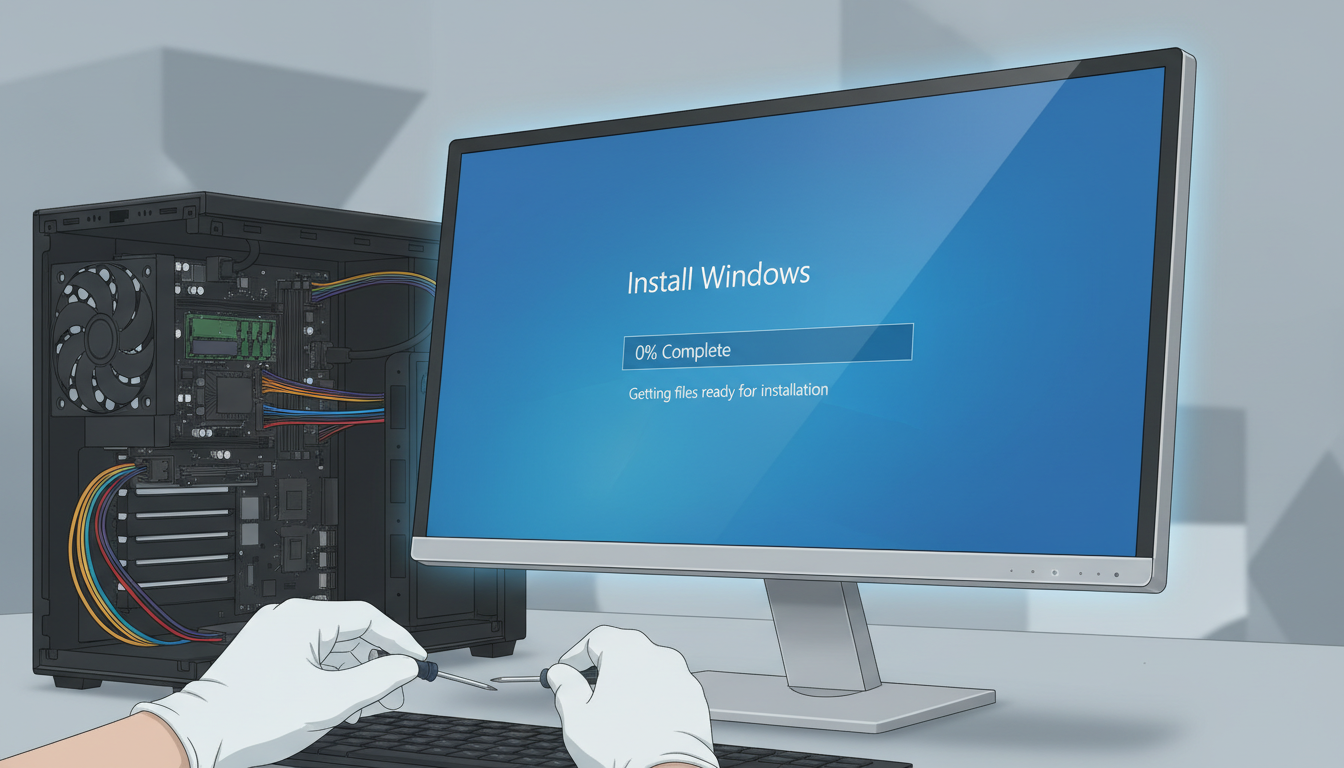
Why Windows Installation Gets Stuck
Few things are more frustrating than watching a Windows installation freeze at 0% or 1% for hours. You’re excited to get your new system running, but instead, you’re staring at a progress bar that refuses to move. This is a surprisingly common issue with several possible causes.
Common Causes of Stuck Windows Installation
- USB drive issues — Corrupted installation media or slow USB 2.0 ports
- Hard drive problems — Bad sectors or incompatible drive formats
- BIOS/UEFI settings — Incorrect boot mode or secure boot conflicts
- Hardware conflicts — Incompatible RAM, peripherals, or drivers
- Corrupted Windows ISO — Downloaded file is incomplete or damaged
Fix 1: Disconnect All Unnecessary Peripherals
This simple fix worked for me immediately:
- Unplug all USB devices except keyboard and mouse
- Remove external hard drives, printers, webcams, and USB hubs
- Disconnect any secondary monitors
- Restart the installation
Sometimes a single incompatible device can halt the entire installation process.
Fix 2: Use a Different USB Port (USB 2.0 Preferred)
USB 3.0 ports can sometimes cause issues during installation:
- Remove the installation USB drive
- Plug it into a USB 2.0 port (usually black, not blue)
- Restart the installation
USB 2.0 is slower but more compatible during Windows setup.
Fix 3: Recreate the Installation Media
A corrupted USB drive or ISO file is a common culprit:
- Download the Windows Media Creation Tool from Microsoft’s official site
- Use a different USB drive (at least 8GB)
- Format the USB as FAT32 (not NTFS) for better compatibility
- Create the installation media again
- Try the installation with the new USB
Fix 4: Change BIOS/UEFI Settings
Incorrect BIOS settings can prevent Windows from installing:
Disable Secure Boot
- Restart your computer and press F2, F10, F12, or Delete to enter BIOS
- Find Secure Boot (usually under Security or Boot tab)
- Set it to Disabled
- Save and exit
Switch Boot Mode
- In BIOS, find Boot Mode or Boot List Option
- If it’s set to UEFI, try switching to Legacy (or vice versa)
- Save and restart
Fix 5: Check and Prepare Your Hard Drive
Hard drive issues can stop installation cold:
Delete All Partitions
- Boot from the Windows installation USB
- When you reach “Where do you want to install Windows?”, select each partition
- Click Delete for each one
- Select the unallocated space and click Next
- Windows will create the necessary partitions automatically
Run Diskpart to Clean the Drive
- At the Windows setup screen, press Shift + F10 to open Command Prompt
- Type
diskpartand press Enter - Type
list diskto see all drives - Type
select disk X(replace X with your drive number) - Type
cleanto wipe the drive completely - Type
exitand restart the installation
Warning: This erases everything on the drive!
Fix 6: Test Your RAM
Faulty RAM can cause installation failures:
- If you have multiple RAM sticks, remove all but one
- Try the installation with just one stick
- If it still fails, try a different stick
- This helps identify bad RAM
Fix 7: Update Your BIOS
An outdated BIOS can cause compatibility issues:
- Visit your motherboard manufacturer’s website
- Download the latest BIOS update
- Follow their instructions to update (usually via USB)
- Try the Windows installation again
Fix 8: Try a Different Installation Method
If USB installation fails, try:
- DVD installation — Burn the ISO to a DVD and install from there
- Network installation — Use PXE boot if your network supports it
- Internal hard drive — Copy the ISO to a separate partition and boot from there
Conclusion
In my case, the installation was stuck because of a USB 3.0 port conflict. Switching to a USB 2.0 port and disconnecting all peripherals allowed the installation to proceed smoothly. If you’re still stuck, try recreating the installation media and cleaning your hard drive with diskpart. These methods solve 90% of stuck installation issues.