Signs Your Windows System Files Are Corrupted
System file corruption can cause all sorts of problems — random crashes, blue screens, programs not opening, slow performance, or Windows features not working. If you’re experiencing any of these, your system files might be damaged.
What Causes System File Corruption?
Common causes include:
- Improper shutdowns — Power outages or forced restarts
- Malware or virus infections — Malicious software damaging critical files
- Failed Windows updates — Incomplete or interrupted updates
- Hard drive errors — Bad sectors corrupting stored files
- Software conflicts — Poorly coded programs overwriting system files
Method 1: Run System File Checker (SFC)
SFC is Windows’ built-in tool for repairing corrupted system files. Here’s how I used it:
Step 1: Open Command Prompt as Administrator
- Press Windows + X and select Command Prompt (Admin) or Windows PowerShell (Admin)
- If prompted by User Account Control, click Yes
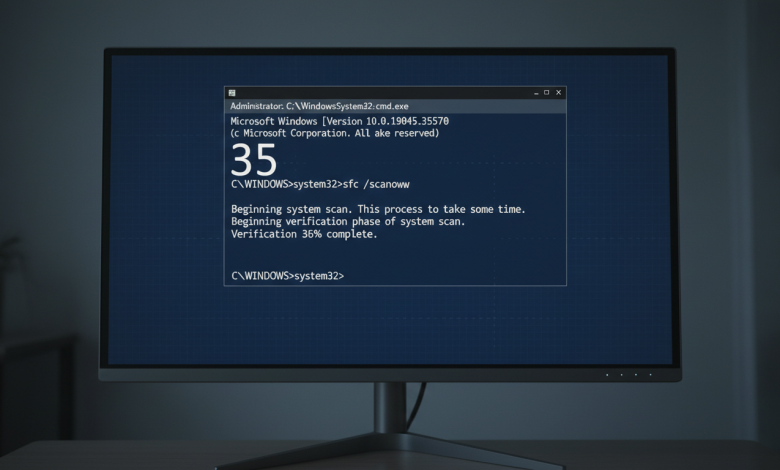
Step 2: Run the SFC Scan
- Type
sfc /scannowand press Enter - Wait patiently — this can take 30-60 minutes
- Don’t close the window or restart your computer during the scan
Step 3: Interpret the Results
You’ll see one of these messages:
- “Windows did not find any integrity violations” — Your files are fine
- “Windows Resource Protection found corrupt files and successfully repaired them” — Fixed!
- “Windows Resource Protection found corrupt files but was unable to fix some of them” — Try Method 2
Method 2: Use DISM to Repair the System Image
If SFC can’t fix everything, DISM (Deployment Image Servicing and Management) can repair the Windows image itself:
Step 1: Check System Health
- Open Command Prompt as Administrator
- Type
DISM /Online /Cleanup-Image /CheckHealthand press Enter - This quickly checks if corruption exists
Step 2: Scan for Corruption
- Type
DISM /Online /Cleanup-Image /ScanHealthand press Enter - This performs a deeper scan (takes 10-20 minutes)
Step 3: Repair the Image
- Type
DISM /Online /Cleanup-Image /RestoreHealthand press Enter - Wait for completion (can take 30+ minutes)
- After DISM finishes, run
sfc /scannowagain
Method 3: Run Both Tools in Safe Mode
If normal mode doesn’t work, try Safe Mode:
- Restart your computer and press F8 repeatedly
- Select Safe Mode with Command Prompt
- Run DISM first, then SFC
- Restart normally after completion
Method 4: Use Windows Installation Media
If DISM can’t download repair files, use installation media:
- Download the Windows Media Creation Tool from Microsoft
- Create a bootable USB drive
- Run this command:
DISM /Online /Cleanup-Image /RestoreHealth /Source:E:\Sources\install.wim(replace E: with your USB drive letter)
Method 5: Check Your Hard Drive
Sometimes the underlying issue is a failing hard drive:
- Open Command Prompt as Administrator
- Type
chkdsk C: /f /rand press Enter - Type Y to schedule the check on restart
- Restart and let it run completely
Verify Your Data Is Safe
Throughout this entire process, your personal files remain untouched. SFC and DISM only repair Windows system files, not your documents, photos, or programs. However, it’s always smart to:
- Back up important files before running repairs
- Use File History or OneDrive for automatic backups
- Keep a system image backup for emergencies
Conclusion
In my case, running DISM followed by SFC completely repaired all corrupted system files. My computer went from crashing daily to running perfectly. The key is to run DISM first to repair the Windows image, then SFC to fix individual files. This combination works for 95% of corruption issues without any data loss.